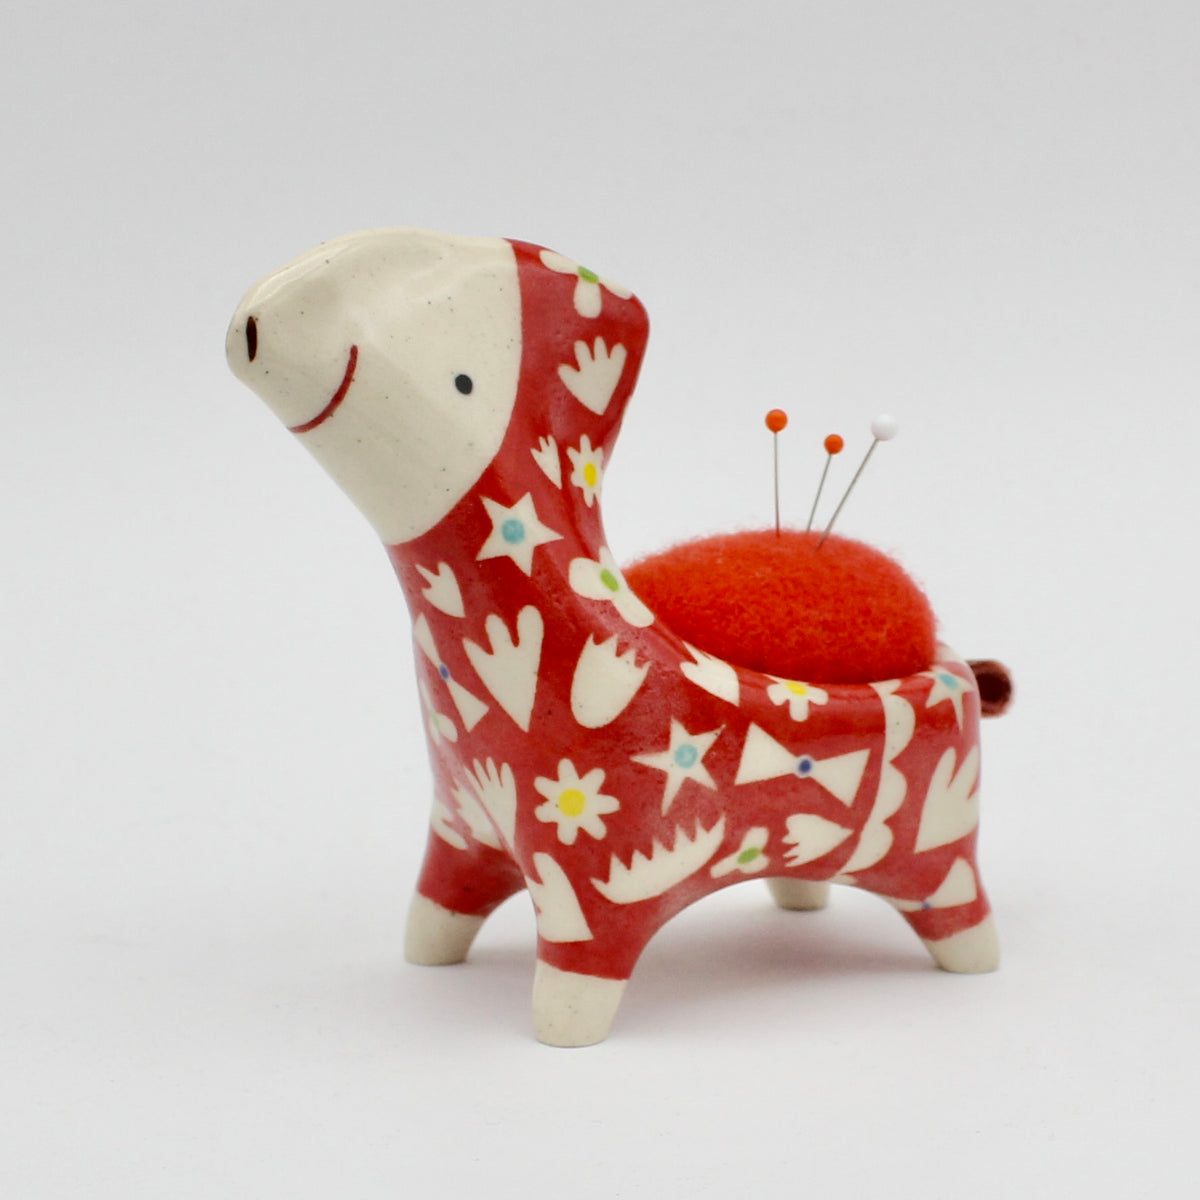
My NYC PANEL Blog Hop
I’m back again for another fabulous My NYC blog hop from Gotham Quilts! You can see my first post here. To coordinate with their My NYC fabric collection, Gotham Quilts has created a Cut and Sew Pillow Panel!
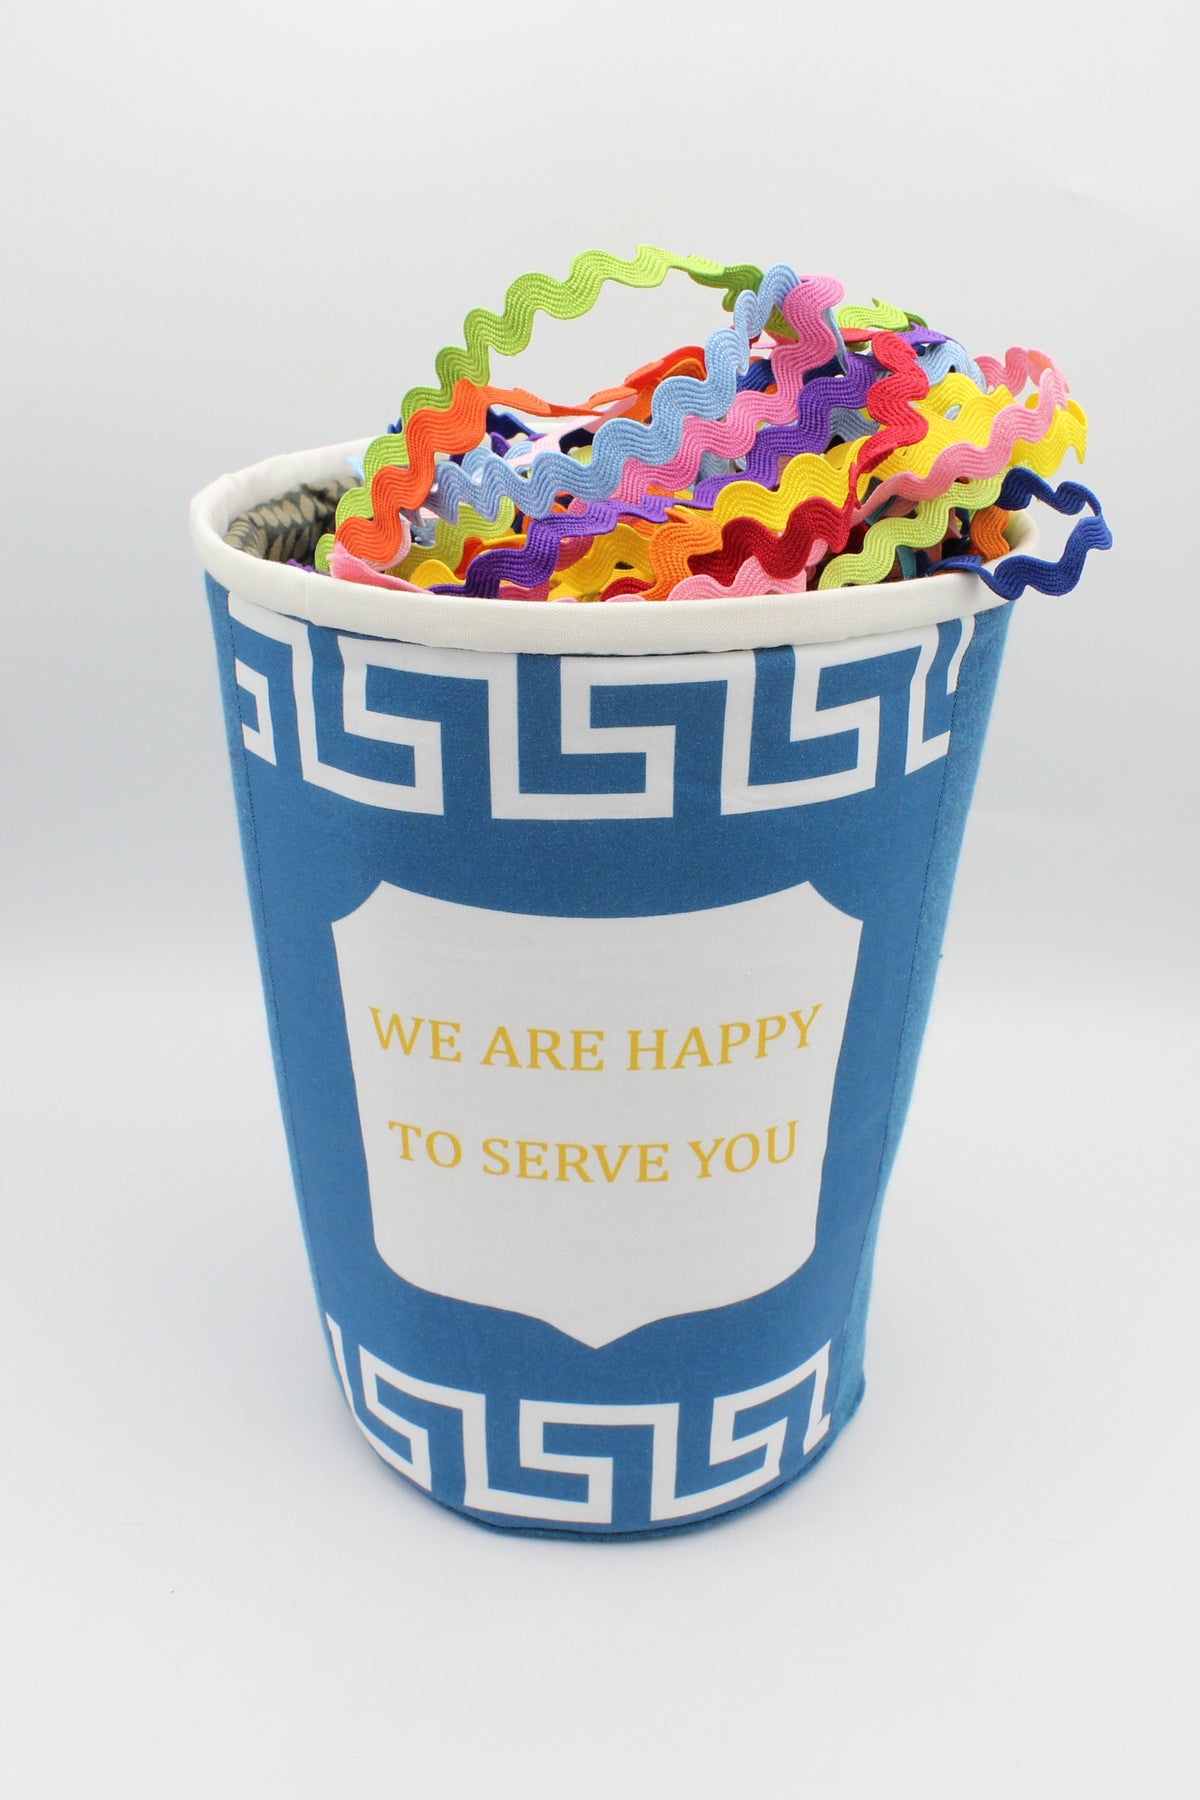
How to Make a Take Out Cup Container
-
You can find the templates HERE.
-
All seam allowances are ¼”.
-
For the stabilizer and piping, I used whatever fusible fleece, Soft and Stable, and boning that I had on hand. You can use any interfacing or stabilizer that you like, and cording instead of boning.
What you need:
-
2 My NYC panels (I used 2 Take Out Cups so I would have one on each side, but you can use just 1)
-
Solid coordinating fabric (I used Windham Fabrics Artisan Cotton in Aqua/Blue to match the blue on the Take Out Cup)
-
Fabric for the lining (I found some chocolate brown Parson Gray fabric in my stash that looks like drops.)
-
White fabric for the lip of the cup
-
Fusible fleece
-
ByAnnie’s Soft and Stable
-
Boning
What to do:
-
Cut 2 Take Out Cup images with template A. (Or 1 Take Out Cup and one solid fabric). Cut 2 template B pieces from solid fabric. Cut 1 lining and 1 fusible fleece with template C. Cut 1 solid bottom and 1 lining bottom with template D. Cut 1 fusible fleece with template E.
-
Cut 1 Soft and Stable piece with template C. Trim the Soft and Stable ⅜” all the way around.
-
Sew the outside together into a long, curved row. With right sides together, alternate 1 Take Out Cup, then 1 solid, then 1 Take Out Cup, and then 1 solid.

-
Fuse the fusible fleece to the wrong side of the pieced outside. With right sides together, sew the final seam to create a cylinder shape.


-
Fuse the fusible fleece bottom to the wrong side of the solid bottom, placing the fleece in the center. Pin the solid bottom to the bottom edge of the outside cylinder, right sides together. Sew the bottom onto the cylinder. Trim the seam and clip the curves carefully. Turn the Take Out Cup right side out.


-
With right sides together, fold the lining in half widthwise. Sew the straight side to make a cylinder shape. Pin the lining bottom to the bottom edge of the lining cylinder, right sides together. Sew the bottom onto the cylinder. Trim the seam.

-
Now, make the piping. Cut the boning to 24”. Overlap the ends about 1” to form a ring and pin. Check the size against the top edge of the outside piece and adjust the overlap so it matches. Sew the ends of the boning together.

-
Cut a strip of white fabric 1 ½” x 26”. Fold the strip lengthwise around the boning and stitch the fabric close to the boning. You can use a zipper foot if you like. Sew the fabric onto the boning, all the way around until you are a few inches from where you started. Trim the fabric 1” past where you started, fold the end under ½”, and complete the sewing.


-
Match the raw edge of the white fabric with the top edge of the outside of the Take Out Cup. Sew the piping onto the cup, close to the boning.

-
Butt the straight ends of the Soft and Stable piece together, creating a cylinder. Use a zigzag stitch to join the ends together.

-
Insert the Soft and Stable into the outside cup. Flip the piping up so the seam allowance is between the outside cup and the Soft and Stable. Insert the lining piece into the cup. Fold the top edge of the lining over so it matches the seam where the piping and outside cup meet. Sew the lining into the cup by hand.

-
Fill your Take Out Cup with stuff!
 Be sure to check out all of the stops along the blog hop!
November 1
Dizzy Quilter
November 2
Swan Amity Studios
November 3
Lovingly, Lissa
November 3
The Darling Dogwood
November 4
Fish Museum and Circus
November 5
CDM365 Studios
November 5
Geometry And Joy
November 6
Slice of Pi Quilts